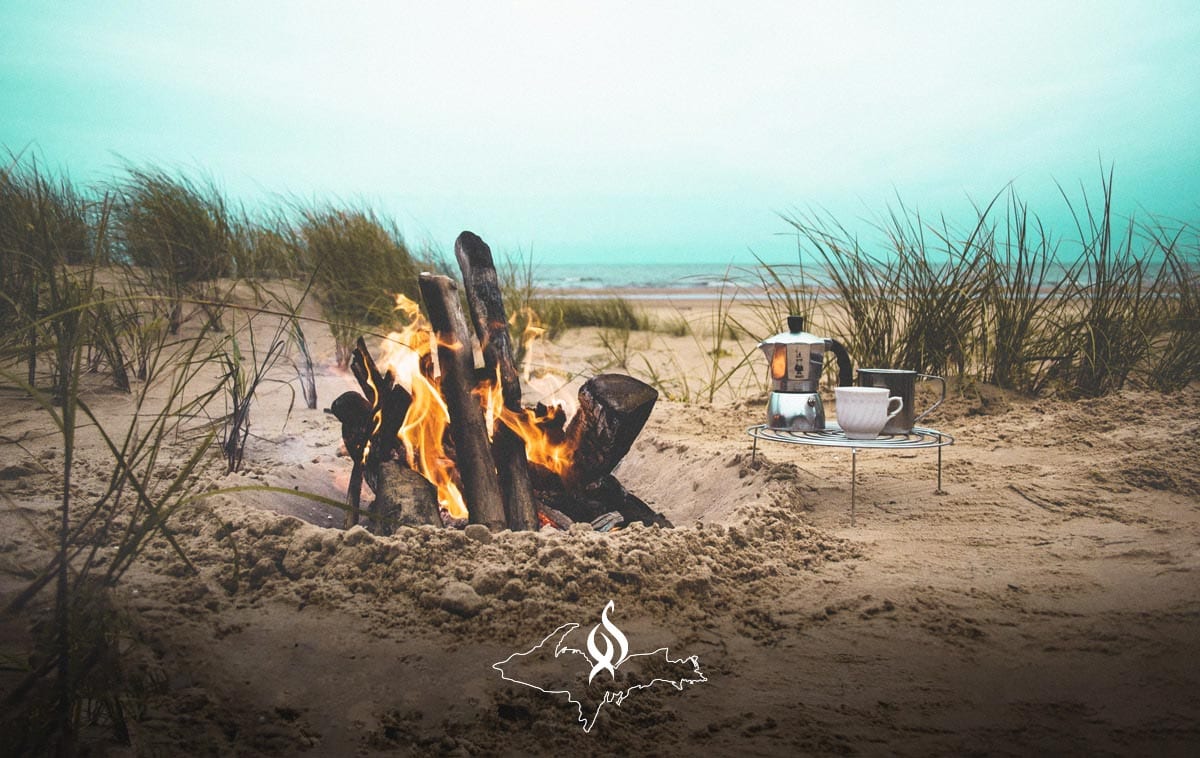
Since the beginning of time, fire has played an important part in human existence. Even today, many of us rely on fires to heat our homes, grill our food, and provide a comfy aspect to an evening with family and friends. There’s nothing like enjoying a perfect campfire. Stories are told and laughter fills the air while firelight flickers on everyone’s faces and fills the air with the warm glow of camaraderie.
It’s easy to love those perfect smokeless bonfires, but a bit more difficult to build one. Just like anything else in life that’s worth doing well, with a few tips and a bit of practice, building the perfect fire will become second nature to you.

Step 1: Plan ahead
Check with the DNR or the local fire station to make sure your area allows fires where you’d like to build it. This is especially important if you plan to build one on the beach. There are some places in the Upper Peninsula of Michigan that prohibit building fires on the beaches, but plenty that do allow beach bonfires. As long as you double check that it’s legal, you’ll be in the clear. Don’t forget to check the fire danger level as well!
Step 2: Gather the right materials
To build the perfect bonfire, you’ll first need to find the right types of dry materials. It’s essential that all your materials are dry. Once you have a decent bed of coals you should be okay to put slightly damp wood on, but dry is especially important at the beginning stage.
The first material you need is tinder. Good types of tinder include leaves, dry grass, bark, or newspaper. If you do use newspaper, we recommend tearing it into one-sheet pieces and crumpling each sheet into a ball. This will prolong the burning time. Tinder burns up quickly, so gather more than you think you’ll need.
Next, you’ll need kindling. Kindling is your transition material between tinder and full-size logs. Great kindling examples are small twigs and branches. Like tinder, you’ll probably need more than you think. Again, make sure your kindling is dry.
The last material you’ll need is fuel wood. The amount of fuel wood you’ll need depends on how long you want your fire to burn. Keep in mind that pine lights much easier than hardwood, but burns faster too.
*PRO TIP: For a truly perfect campfire experience, we recommend using kiln-dried wood. Kiln dried campfire wood not only lights easier and burns hotter, but burns more efficiently as well. Plus, you’ll have a nearly smokeless fire!
Step 3: Build a Teepee
Don’t worry, we’re not talking about a full-scale Native American teepee here. The teepee we’re talking about is the way you stack your materials before you light them.
- Before building the teepee, dig at least a foot into the sand to help protect your fire from any wind.
- Start your teepee by piling some of your tinder in the middle of your fire pit. Use more than you think you need, but keep some aside in case your first attempt doesn’t work and you need to restart it.
- Next, take the kindling and create a small teepee around the tinder. Be sure to leave room to allow air to get in and fuel the fire. By stacking on too much kindling over the tinder, your fire won’t be able to breathe properly.
- Next, build a larger teepee over the kindling using your fuel wood. Again, don’t forget to leave room for your fire to breathe!
Step 4: Light your fire
Reach in and light the fire, being careful not to knock over your teepee. It should be roaring in a minute or so. After a few minutes, the teepee will collapse and leave you with a solid bed of coals that will allow you to keep the fire going. Continue to add wood occasionally to keep it going as long as you need it. The best time to cook food is once you’ve got a good bed of coals, so break out the s’mores and hot dogs, and enjoy!
Step 5: Put out your fire properly
While throwing a few buckets of water on the dying embers is the easiest (and most effective) way to put out a fire, it’s not a good idea if you’re camping and plan to have another fire in this pit the following morning. If you waterlog your pit, you’ll have a harder time lighting a fire the next day. Instead, use a small amount of water and stir it into the ashes until they’re all wet. Then, wait until you can’t feel heat coming from the pile of ashes before you check in for the night.
If you’re still having trouble starting your fire, check your materials to make sure they’re completely dry! For the best bonfire possible, we recommend trying our kiln-dried campfire bundles. Stone Hearth kiln-dried firewood not only lights faster, burns hotter, burns more efficiently, and gives off barely any smoke – but is USDA Certified as well. This means that it’s safe to take with you on your next camping trip, whether it’s at home or across state lines. You can learn more here, or give us a call at 906-250-1389 for more information.
Follow these tips, and you’ll be able to build a bright and blazing smokeless fire whenever you need one. Bring along fixings for s’mores as well, and you’ll be the hero of the day!
